How to Maintain an Air Compressor for Longer Life
An air compressor may run for years, but only when routine care keeps small problems from becoming costly failures. Heat, vibration, dust, and moisture gradually wear on components, even when the machine seems to work normally. A few minutes of inspection can reveal a loose fitting, a clogged intake filter, or water collecting in the receiver tank. Small signs matter.
Air compressor maintenance should follow the manufacturer’s instructions and match the machine’s workload. Check the oil level and condition on lubricated models, inspect hoses and electrical connections, and drain condensate as directed. Clean or replace filters at the recommended intervals, and keep cooling vents clear of dust. These simple steps support steady airflow and help reduce unnecessary strain on the motor.
Pay attention to changes. A compressor that runs longer than usual, cycles more often, or makes a new rattling sound may need attention. Record service dates and observations; even a basic log can help reveal patterns over time. No checklist catches everything. Some wear is difficult to spot without proper tools, so stop the machine and consult a qualified technician if a fault persists or a repair exceeds your experience. Always isolate power and release stored pressure before performing permitted maintenance. The correct schedule depends on the model, operating environment, and duty cycle. A dusty workshop may require more frequent filter checks than a clean, lightly used space. Consistent, careful maintenance—not guesswork—gives an air compressor its best chance of reliable, longer service.
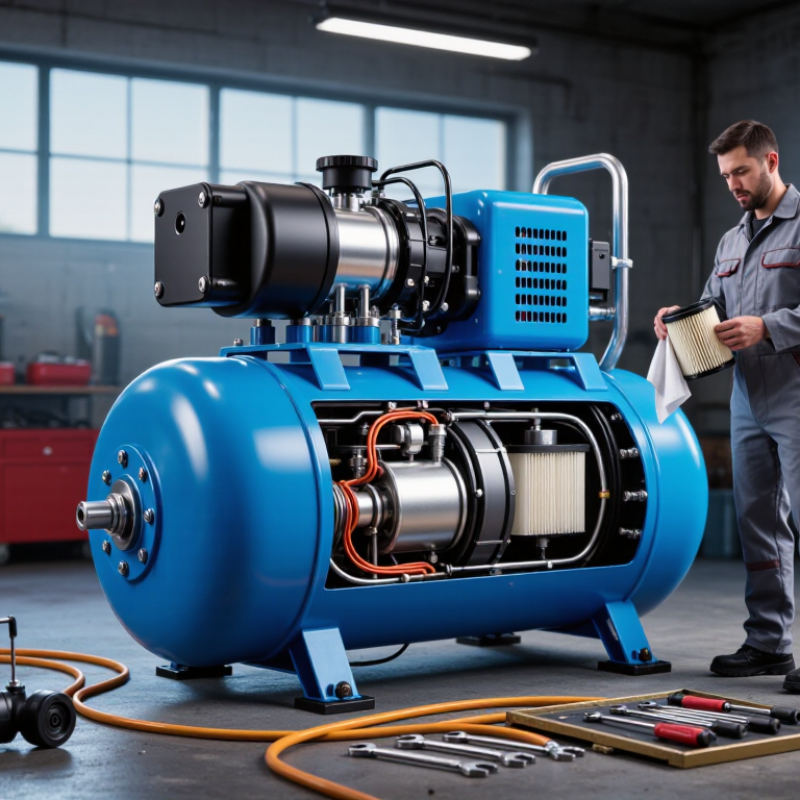
Identify the Compressor Type and Follow Its Maintenance Schedule
How to Maintain an Air Compressor for Longer Life
Identify the compressor type before choosing a maintenance routine. A reciprocating compressor has pistons and valves; a rotary screw model uses rotating elements. Oil-lubricated and oil-free designs also have different service needs. Check the data plate and owner’s manual rather than guessing. The wrong oil or filter can cause avoidable wear. A small leak matters.
Follow the manual’s schedule for oil, air filters, belts, and other parts. Record operating hours and service dates on a simple log. Inspect hoses and fittings for cracks or escaping air, and watch for unusual heat, vibration, or noise. Drain moisture from the receiver as directed, especially in humid conditions. Before maintenance, disconnect power and release stored pressure. It is easy to postpone a filter change when the compressor still runs; that assumption can cost efficiency. If a task or fault is unclear, ask a qualified technician.
Tips: Keep the manual beside the unit. Use a flashlight to check for leaks. Don’t overtighten fittings. Mark the next service date.
How to Maintain an Air Compressor for Longer Life - Identify the Compressor Type and Follow Its Maintenance Schedule
| Maintenance Task | Typical Timing | Reciprocating Compressor | Oil-Injected Rotary Screw Compressor | Oil-Free Compressor |
|---|---|---|---|---|
| Check operating condition | Before each use or shift | Check for unusual noise, vibration, leaks, and normal pressure build-up. | Check for alarms, abnormal noise, leaks, and unusual operating temperatures. | Check for alarms, abnormal noise, leaks, and unusual operating temperatures. |
| Drain receiver condensate | Daily, or as required by the receiver and drain system | Drain the air receiver; inspect the drain for blockage or leakage. | Drain the receiver or verify that the automatic drain works correctly. | Drain the receiver or verify that the automatic drain works correctly. |
| Inspect air intake filter | Regularly; clean or replace when dirty or as specified | Keep the intake clear. Replace a damaged or heavily loaded filter. | Inspect the intake filter and replace it according to the service schedule or restriction indicator. | Inspect and replace intake filters as specified; clean intake passages if needed. |
| Check oil level and condition, if applicable | At the interval stated in the equipment manual | Check the crankcase oil level with the compressor stopped and in the specified position. | Check the oil level using the maker’s specified procedure; investigate unexpected oil loss or discoloration. | The compression air end may not use oil, but other components may. Check any lubricated gearbox or auxiliary parts as specified. |
| Inspect belts, guards, and fasteners | Monthly, or more often in dusty or vibrating locations | Check belt condition and tension, pulley alignment, guards, and mounting fasteners. | Check drive components and guards where accessible; follow the manual for belt- or coupling-driven units. | Check drive components and guards where accessible; follow the manual for the specific design. |
| Clean cooling surfaces and check ventilation | Monthly; increase frequency in dusty environments | Keep cooling fins and ventilation openings free of dust and debris. | Clean coolers and ventilation paths using the approved method; verify airflow is unobstructed. | Keep cooling surfaces and ventilation paths clean to help prevent overheating. |
| Service oil, oil filter, and separator where fitted | At the hours or calendar interval specified by the manufacturer | Change crankcase oil and service any fitted filters according to the manual and duty conditions. | Change compressor oil and oil filter; replace the air/oil separator when specified or when its pressure drop reaches the stated limit. | Follow the manual for any lubricated auxiliary components and fitted filters; do not assume every component is oil-free. |
| Inspect safety devices and pressure system | At the intervals required by the manual and local regulations | Have the pressure-relief valve, receiver, and controls inspected or tested by qualified personnel as required. | Check control and safety devices; arrange required inspection of the receiver and pressure-relief valve. | Check control and safety devices; arrange required inspection of the receiver and pressure-relief valve. |
| Record service and operating hours | After every maintenance task | Record hours, oil changes, repairs, and any recurring symptoms. | Record hours, filter and separator changes, oil service, alarms, and repairs. | Record hours, filter service, inspections, alarms, and repairs. |
Important: This is a general guide, not a replacement for the compressor’s manual. Use the model-specific schedule, which may require shorter intervals under heavy use, high temperatures, or dusty conditions. Before servicing, isolate electrical power, release stored pressure, and follow applicable safety procedures. Dispose of condensate and used oil in accordance with local requirements.
Related Posts
-
How to Perform Air Compressor Maintenance?
-

How to Effectively Maintain Your Air Compressor for Optimal Performance
-
The Ultimate Guide to Choosing the Right Compressed Air Dryer for Your Industrial Needs
-

2026 Best Air Compressor Oil Reviews and Buying Guide?
-
What Is the Best Rotary Air Compressor?
-

Best Compressor Rental Companies in China for Global Buyers?