How to Test a Meter for Accuracy in 2026?
Testing a meter for accuracy in 2026 starts with a simple question: what does it measure? An electricity meter, water meter, and handheld measuring device each need a different test method. The meter’s model, age, and display type matter, too. Small differences can affect a bill, a repair, or a safety decision.
A practical Meter Test should use a suitable reference instrument with known accuracy. For an electricity meter, a qualified technician can compare its readings against calibrated equipment under a controlled load. At home, you can record the meter reading, run a steady appliance, and compare the change with the appliance’s expected use. This is a useful screening check, not a laboratory result. Appliance labels and real consumption may differ.
Never remove covers, disturb seals, or touch exposed wiring. Follow the manufacturer’s instructions, and contact your utility provider or a qualified professional if readings seem inconsistent. Keep notes: record the date, meter reading, appliance, test duration, and any unusual conditions. A clear photo can help, but it cannot confirm accuracy by itself.
Results need context. A brief test may miss errors that appear only at low loads or over longer periods. That part is easy to overlook. Even a careful comparison has limits, so avoid declaring a meter faulty based on one reading. This guide explains safe checks, useful tools, common sources of error, and when professional testing is the more reliable next step.
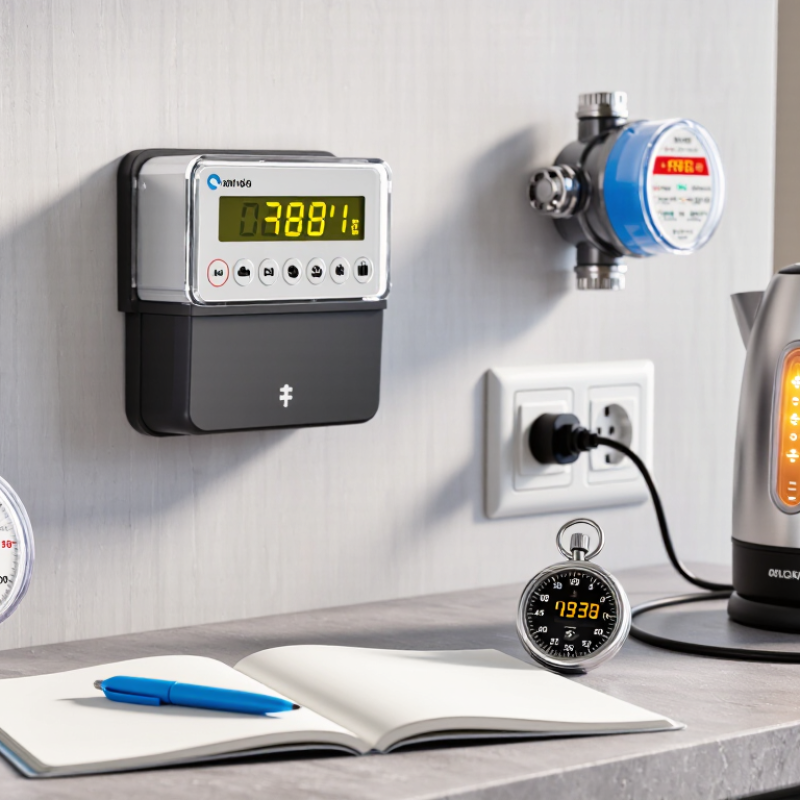
Define Meter Accuracy and Identify the Meter Type
Meter accuracy describes how closely a reading matches a known reference value under stated conditions. It differs from resolution, the smallest change a display can show. Precision describes repeatability: a stable reading can still be wrong. For a fair check, compare readings with a suitable reference and the meter’s specified tolerance. Temperature, load, probe placement, and battery condition can affect results.
Before testing, identify what the meter measures. Voltage, water flow, and temperature meters require different references and procedures. Note the unit, measurement range, sensor or probe type, and whether the device is analog or digital. Check its manual for accuracy limits and warm-up requirements. For a utility or fixed-installation meter, record the reading and operating conditions. Do not open sealed equipment. A mismatch may come from setup, not a faulty meter.
Tips: Use a reference with known accuracy, keep units consistent, and repeat measurements at several points. Write down each result. If readings drift, pause and check connections or sensor placement before deciding that calibration is needed.
How to Test a Meter for Accuracy in 2026: Define Accuracy and Identify the Meter Type
Meter accuracy describes how closely an instrument’s reading matches a trusted reference. First identify the meter type, measurement function, and range; then compare its reading with a suitable reference and check the result against the meter’s stated specification.
Illustrative example checks: A digital multimeter read 10.020 V against a 10.000 V reference; a clamp meter read 10.10 A against 10.00 A; an energy meter read 0.995 kWh against 1.000 kWh; and a pressure gauge read 102.0 kPa against 100.0 kPa. Bars show absolute relative error, not a universal pass/fail limit. Actual acceptance limits depend on each meter’s specifications and test conditions.
Gather Reference Standards and Testing Equipment
Before testing a meter, identify its measurand, range, and required tolerance. A voltage meter needs a stable electrical source and a reference instrument; a flow meter needs a suitable flow reference and controlled conditions. Choose standards with current calibration certificates and documented metrological traceability. Their uncertainty should be small compared with the meter’s permitted error; a 4:1 test-uncertainty ratio is a useful target, not a universal rule. NIST Technical Note 1297 explains that expanded uncertainty with a coverage factor of k=2 is commonly associated with approximately 95% coverage, provided the relevant distribution assumptions apply. Check the certificate’s uncertainty and coverage factor, rather than relying on the word “calibrated.” Small details matter.
Tips: Match cables, probes, adapters, and loads to the meter’s range. Let equipment stabilize, record room temperature, and inspect connectors for dirt or loose contacts. Keep the reference standard’s certificate beside the test record. Don’t overlook setup errors.
Record readings at several points across the working range, including near the limits. Note the meter display, reference value, environmental conditions, and any adjustments made. A result near the tolerance boundary deserves a repeat measurement; it may reflect drift, a poor connection, or a rushed setup. The weakest part of a test is often the undocumented detail. Avoid claiming accuracy beyond the reference standard’s stated uncertainty.
Prepare the Meter and Set Up a Controlled Test
How to Test a Meter for Accuracy in 2026?
Prepare the meter and reference standard before taking readings. Check the meter’s condition, battery level, leads, and connectors. Dust or a loose probe can introduce errors before the test begins. Let the instrument stabilize at the test location, and record the room temperature and humidity. Follow the meter’s specified warm-up time; skipping it is an easy mistake to make. Use a calibrated reference with documented traceability, and choose test points across the meter’s working range. A single reading rarely reveals the full picture.
Keep the setup steady. Connect the reference and meter securely, use the correct input terminals, and avoid moving cables between readings. Record each displayed value, the reference value, test conditions, and any unusual behavior. NIST Technical Note 1297 explains how combined standard uncertainty is used to evaluate measurement uncertainty; expanded uncertainty with a coverage factor of 2 is commonly associated with about 95% coverage when suitable assumptions apply. That context matters: a reading is not meaningful without uncertainty and the reference standard’s stated accuracy.
Tips: Allow the meter and reference to reach room conditions. Take repeated readings at each test point, and note fluctuations instead of silently discarding them. If results drift, pause and check connections, temperature, and setup stability before adjusting the instrument. I still find this step easy to rush. Don’t.
Compare Meter Readings with a Known Standard
To test a meter for accuracy, compare its reading with a known standard that measures the same quantity. The reference should have a current calibration record and uncertainty suitable for the accuracy you need to check. A reference that is barely more accurate than the meter can make the result hard to judge. Match the units and choose a test point within both instruments’ stated ranges. Small differences matter.
Set the instruments up under steady conditions, then take several readings rather than relying on one convenient result. For a voltage meter, for example, use a stable source and connect the reference and meter in parallel. Record the readings, the range used, and relevant conditions such as temperature. Calculate the difference as a percentage of the reference value, then compare it with the meter’s stated tolerance. Keep the setup steady. A single point can look reassuring while another part of the range is inaccurate. That is an easy weakness to miss. If readings drift, repeat the test after checking connections and allowing the equipment to settle. Do not adjust the meter just to force a match; follow its service procedure or ask a qualified technician when the result falls outside tolerance.
Evaluate Results and Document Calibration Needs
For an electrical meter, compare its readings with a traceable reference at several load points. Record the meter’s identification, test date, temperature, voltage, current, and power factor. A stable bench setup matters. Loose connections or changing loads can distort results.
Judge each error against the meter’s stated class and the test conditions, not a single universal limit. ANSI C12.20-2022 specifies performance requirements for electricity meters in accuracy classes 0.1, 0.2, and 0.5. NIST Technical Note 1297 explains how to evaluate measurement uncertainty; using a coverage factor of 2 often corresponds to roughly 95% coverage when its assumptions apply. A pass near the limit deserves a closer look.
Document the reference instrument’s calibration status, readings, calculated error, uncertainty, and any adjustment made. Include out-of-tolerance results, even when they seem inconvenient. Keep the raw readings. A neat average can hide one unstable test point. If uncertainty overlaps the acceptance limit, flag the result for review rather than calling it a clean pass. I would also note unusual conditions, such as a warm enclosure or fluctuating load; those details are easy to dismiss, but they may explain why the next test differs.