How to Choose the Right Hose Clamp?
A loose connection can turn a routine hose installation into a leak, downtime, or a damaged component. Choosing a Hose Clamp is not just about matching its diameter to the hose. The clamp must suit the hose material, fitting shape, operating pressure, temperature, vibration, and surrounding conditions. Small details matter. A clamp that looks substantial may still apply uneven pressure or interfere with a soft hose.
Professional references help keep selection grounded. SAE J1508 sets performance and test requirements for hose clamps used in automotive applications, offering useful criteria beyond appearance. NAHAD’s hose assembly safety guidance also emphasizes compatible components and proper assembly practices. These sources do not make every clamp suitable for every system. They do show why the hose, fitting, and clamp should be considered as one assembly. Always check the hose manufacturer’s specifications and the clamp maker’s stated limits before installation.
This guide explains how to compare common clamp styles, materials, size ranges, and tightening mechanisms. It also considers corrosion, repeated service, and the difference between a secure fit and excessive tightening. Fit is not enough. In practice, a stainless-steel clamp may resist a damp environment, while a lined design may help protect a softer hose surface. Yet neither choice is automatically right; the actual fluid, exposure, and equipment requirements matter. A careful selection starts with measurements and documented ratings, then checks whether the assembled connection remains secure under real operating conditions. Some installations are less predictable than a catalog suggests. That is worth remembering.
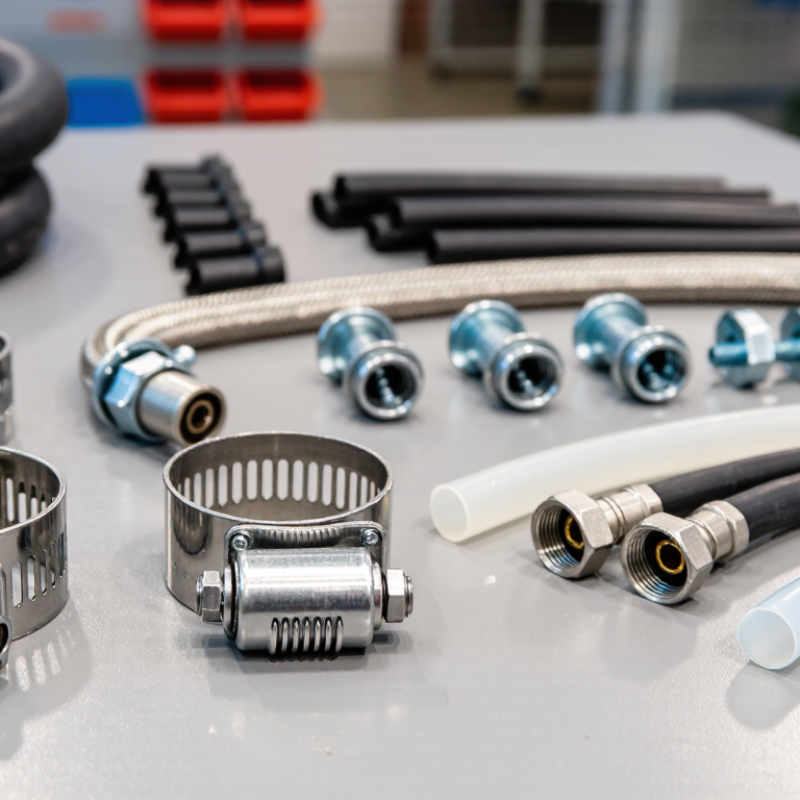
Identify the Hose Clamp’s Intended Application
The right hose clamp depends on where the hose works, not just its diameter. A clamp on a garden line faces different demands from one beside a warm engine or vibrating pump. What fluid flows through it? How hot does the assembly get? Will it encounter salt, oil, or frequent movement? Small details matter.
For low-pressure, occasional use, a worm-drive clamp may be suitable if the hose manufacturer permits it. Soft silicone or thin-wall hoses can be damaged by a narrow band or excessive tightening. A wider, smooth-band design may distribute pressure more evenly. Constant vibration can loosen some screw-style clamps, so choose a clamp intended for that service and follow the equipment specifications. Check that its material suits the moisture and chemicals nearby. Stainless steel is not automatically right for every environment.
Fit matters, too. Measure the hose over its fitting, then make sure the clamp’s working range includes that outside diameter. Tighten until the connection seals, not until the hose bulges. That takes judgment. I still recheck after the first operating cycle, especially when temperatures change. If failure could damage equipment or cause injury, follow the assembly requirements rather than guessing from appearance. It is easy to miss.
Measure the Hose and Fitting for a Secure Fit
Measure the hose’s outside diameter at the exact clamp position, not its nominal inside diameter. Push the hose fully onto the fitting first; a barb can slightly expand it. Use calipers across the hose and fitting, then check a second point for ovality. Small differences matter. Select a clamp whose adjustment range includes the measured diameter, preferably near the middle, to allow for tolerances and temperature changes.
Fit involves more than diameter. Check that the clamp band is wide enough to sit squarely on the hose, clear of the fitting’s end, and positioned over the barb. SAE International’s SAE J1508_202012 standard sets dimensional and performance test requirements for several hose-clamp types. It’s a useful technical reference, but it cannot replace the hose or fitting maker’s installation guidance. Tightening too far may damage the hose; too little can allow leakage.
Tips: Measure twice, especially on a soft or oval hose. A tape measure can miss small differences. Tighten evenly, then inspect for bulging or a displaced band. I’d recheck the joint after the system’s first operating cycle; it’s an easy step to overlook.
Compare Clamp Types and Materials
A worm-drive clamp is easy to adjust with a screwdriver, making it useful for general repairs and hose sizes that may change slightly. Its screw housing can create uneven pressure if overtightened. Check the hose for cuts or flattening after fitting. Small details matter.
Spring clamps apply steady pressure as a hose expands and contracts with temperature, so they suit many cooling-system connections. They can be awkward to remove in tight spaces. T-bolt clamps provide stronger, more even clamping on larger hoses, such as those used with air ducts or heavy equipment. They may crush a soft hose if the band is too narrow or tightened excessively. Ear clamps form a low-profile, mostly permanent connection, but usually require a dedicated installation tool.
Material choice affects service life. Zinc-plated carbon steel is economical for dry, indoor conditions, though scratches can expose the steel to rust. Stainless steel resists corrosion better; grade 316 is often preferred near saltwater, while grade 304 suits many ordinary environments. Match the clamp’s material to the hose fitting and surrounding moisture, not just the hose itself. I would also check the manufacturer’s pressure and temperature limits, since “stainless” alone does not guarantee a suitable clamp. A quick visual check may miss corrosion beneath the band.
Choose the Correct Clamp Size and Pressure Rating
How to Choose the Right Hose Clamp?
Choose the Correct Clamp Size and Pressure Rating
Measure the hose’s outside diameter where the clamp will sit, with the hose fully fitted over its connector. A loose measurement can lead to a clamp that bottoms out before sealing. Choose a size range that includes the measured diameter, ideally near the middle rather than at either limit. Check that the band sits behind the fitting’s raised bead and does not cover the hose end.
Match the clamp to the assembly’s working pressure, temperature, and fluid. A clamp’s pressure suitability depends on more than its size: hose material, connector shape, and pressure surges all matter. Check the hose and clamp specifications together, and use the lowest-rated component as your practical limit. Do not assume that tightening harder will fix a poor fit; excessive force can crush or cut the hose. This is an easy detail to miss.
Tips: After installation, inspect the hose for bulges or pinching, then test the assembly under controlled conditions. Recheck the connection after its first operating cycle. If the correct torque or pressure limit is unclear, consult the component documentation instead of guessing.
Install and Inspect the Clamp for a Reliable Seal
Choose a clamp that fits the hose’s outside diameter when it sits over the fitting. The clamp should tighten evenly without reaching the end of its adjustment range. Match its material to the surrounding conditions, especially where moisture, heat, or chemicals may be present. A clamp that looks substantial is not automatically the right size.
Before installation, check the hose and fitting for cracks, dirt, or damaged edges. Push the hose fully over the fitting’s bead, then place the clamp behind the bead, not on its edge. Tighten it evenly using the maker’s torque guidance; excessive force can cut or deform the hose. There is no reliable “tight enough” feel for every hose. Restore pressure gradually and inspect for seepage. Check again after the system has warmed and cooled, and depressurize it before making adjustments. Small details matter.
Tips: Mark the clamp’s position before tightening. Look for a smooth, even fit, not a pinched hose. If the connection still leaks, check the hose and fitting rather than simply tightening harder.